Frequently Asked Questions
Which Roofing Shingles Are The Best For My Roof?
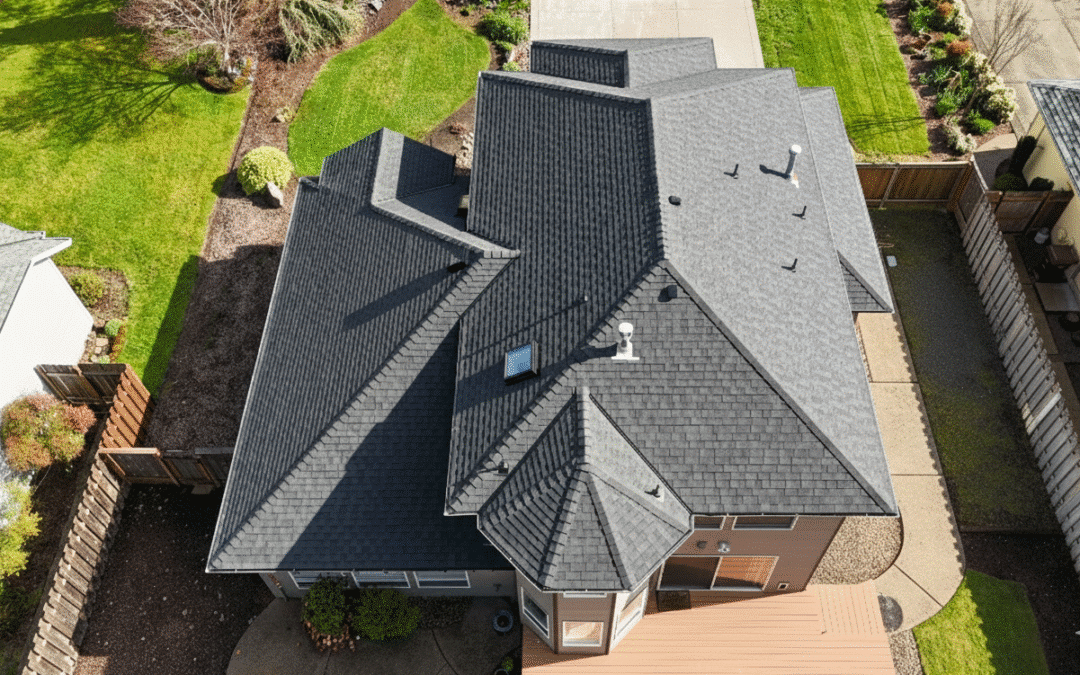
When it comes to choosing the best roofing shingles, it really depends on your home’s needs, your budget, and the style you’re looking for. However, CertainTeed shingles are widely considered one of the best options available. Known for their outstanding quality, durability, and beautiful design choices, CertainTeed also offers some of the strongest warranties in the industry — covering both performance and appearance.
Their popular Landmark® series provides the classic look of wood shake with better affordability, less maintenance, and enhanced performance. Plus, CertainTeed’s advanced shingle technologies, like ClimateFlex® for impact resistance and Solaris® for energy efficiency, make them a smart, long-term investment for any home.
That said, we also install premium shingles from other top brands like GAF, Owens Corning, Atlas, and IKO. Each offers excellent options depending on your specific project needs, climate, and budget. During your consultation, we’ll help you compare all the top choices so you can confidently select the best shingles for your home.
Is Financing Available For Portland and Vancouver Roof Installation Projects
Yes, financing is available! We offer flexible financing options to help make your roofing project more affordable. Whether you need a full roof replacement or just repairs, we can work with you to find a plan that fits your budget. During your consultation, we’ll go over all available financing options and help you choose the one that’s right for you. Choose from several convenient and affordable financing options, including standard or deferred financing on all Portland & Vancouver roofing projects.
We have fixed, low interest options, and same as cash options with no payments for up to 18 months!
Call (360) 524-0858 to apply. We’ll walk you through the process. You can be pre-approved in under 10 minutes!
What Type of Warranties Do You Offer?
We take pride in every roofing project we complete. All roofing projects are covered by our best-in-city 12-year labor warranty. Our roofers are fully certified and we use the highest-quality roofing products on the market. In addition to our warranty on labor, you’ll be covered by the full, original manufacturer’s warranty on all materials used.
All Cutting Edge Contracting warranties on labor and materials are transferable, so you can sell your home stress free!
Do You Offer Emergency Roof Leak Repair?
Absolutely! Leaks and other issues need to be fixed fast — otherwise you run the risk of serious roof damage. Our roofers respond quickly and visit your home to investigate the issue, diagnose the problem, and create a solution.
If we can’t make it out right away, we’ll offer a temporary solution to keep your home or building safe until we can.